The Standing Desk Trend: Now Available in your Dorm Room
by Nathan Castle | published Nov. 6th, 2016
The standing desk trend has been a rising tide in industries and schools alike. Even Forbes magazine endorses the health benefits of standing at your desk, reporting that sitting at a desk all day can cause poor blood flow and even increase your risk of disease. With promises of elevated productivity and health, standing desks have uplifted their profits as much as they have benefited their users. Every tiger deserves the opportunity to choose a standing desk, yet the hiked-up prices of commercial models are often too much bear. If you’re willing to do some heavy lifting, you can construct your own standing desk on top of an existing desk for less than $15.
Disclaimer: Before you get started, you should try a standing desk for yourself. Although many people — including RIT’s own provost Jeremy Haefner — love their standing desks, they’re not for everyone. Before committing to a construction project, dorm dressers and stacks of books can be good — if inflexible — stand-ins. Once you’ve determined that a standing desk is the right choice, this customized standing desk will be tailor-made to your specific ergonomic needs.
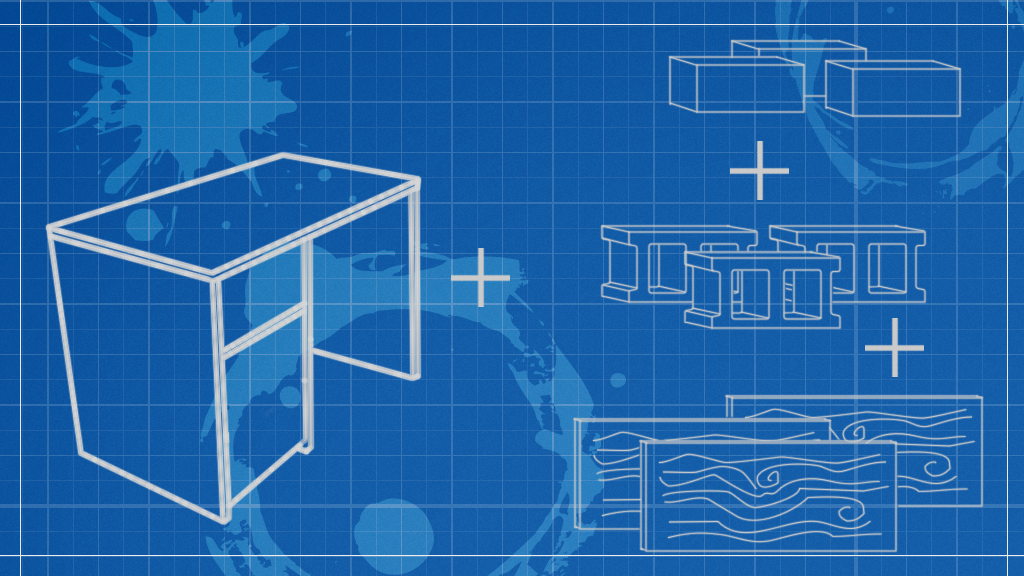
Desk Design Details: Our custom standing desk is made from cinderblocks and wood totaling $15. Cinderblocks are the ideal construction material for custom furniture because their shape allows several configurations while their hollow inside provides plenty of room for storage. While any wood plank is suitable for the work surface, premium woods are available for those willing to spend. Our standing desk was designed for a computer user with a monitor, laptop or desktop, and separate keyboard and mouse. If that doesn’t sound like you, the design can be modified to emphasize writing space or decoration display.
Step 1: Materials To construct your new desk, you’ll need two 16 inches-by-8 inches-by-6 inches concrete blocks ($1.50) to form the monitor support. Depending on your height, you’ll need four 7.75 inches-by-2.25 inches-by-2.75 inches ($0.50) concrete bricks to provide additional elevation for proper ergonomics (more on that later). For the keyboard/mouse support, you’ll want two to four ($.50) more concrete bricks and two concrete 8-by-8-by-8 blocks ($1.50 each). The choice of wood is up to you. You’ll want pieces to support 6-inch by 36-inch planks for which you can find suitable plywood for less than $10.
Step 2: Configure According to the Mayo Clinic, proper desk configuration is key to preventing neck and back pain throughout your career. Keep these guidelines in mind while you customize your desk to your specific needs:
• Monitor placed arms-length away, at or just below eye level
• Aligned monitor and keyboard/mouse
• Keyboard positioned slightly below elbow height, with forearm parallel to the floor.
Assembly:
The first step to setting up your desk is positioning your existing desk correctly. Be sure that you can stand at the desk without hitting your head on furniture, like lofted beds or shelves. Get this right — concrete blocks are heavy, so you won’t want to move your desk once it is set up. If you have a roommate, get their consent first; having your roommate towering over you for hours on end can be unnerving. Once your desk is in place, place the two large cinderblocks standing upright about two feet apart. Check to see if this is the right height for your monitor — if it is, go ahead and lay a wooden plank between the two cinderblocks, otherwise you’ll want to put the bricks down first. Now we have a stable place for a monitor, laptop or stack of books.
The next step is constructing the work surface for the keyboard and mouse. For this step, use the square blocks and bricks to create a stable platform at the correct height. Note that the bricks are different lengths in each dimension, allowing for fine-grained adjustment. Place the board on top (make sure it is stable) and you’re good to go.
Now that you have set up your desk in the right position for you, it's ready to use! For just $15 you’ve made your own dorm-friendly standing desk. Your ergonomics are right, your budget is on point and you now have the setup you need to rise above your peers. 


